In my previous Blog Article, we created a new App Volumes Application and tested it successfully.
Imagine you have multiple customers / environments or whatever reason, you need to implement the same application in different environments. We don’t like the idea to start over and do everything again for every customer.
For that reason we can Export and Import App Volumes Applications in Azure.
For this to work, you need access to your Azure Subscription (for both the environment where the App Volumes Package resides and of course the destination environment(s) )
And you need the Azure Storage Explorer (free app), you also need the appropriate permissions on Azure in order to read/write the files.
First step. The Application we created before http://jadijkstra.nl/index.php/2022/12/07/appvolumes-horizon-cloud-on-azure/ , we need some information regarding the package name.
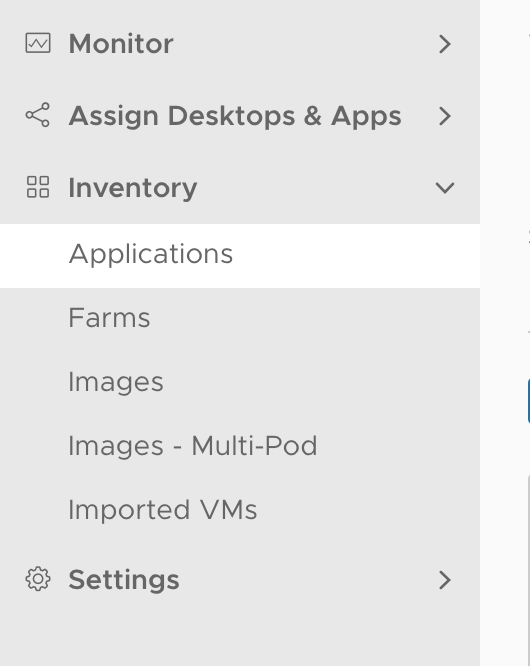
In the VMware Horizon Cloud Console Plane, go to Inventory – Applications
Then Find the NotepadPlusPlus Application:

And Click on NotepadPlusPlus Application name:
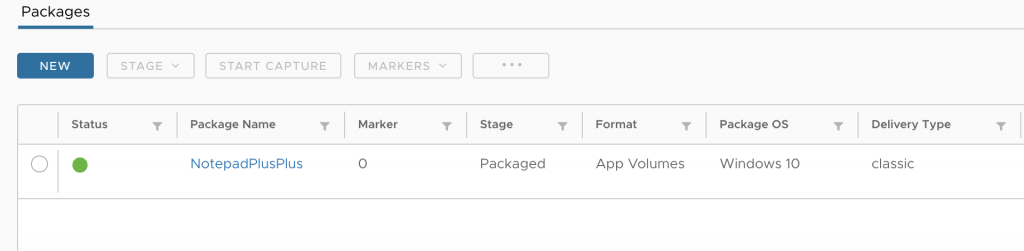
Now we see the Package Name, again Click on the Package NotepadPlusPlus
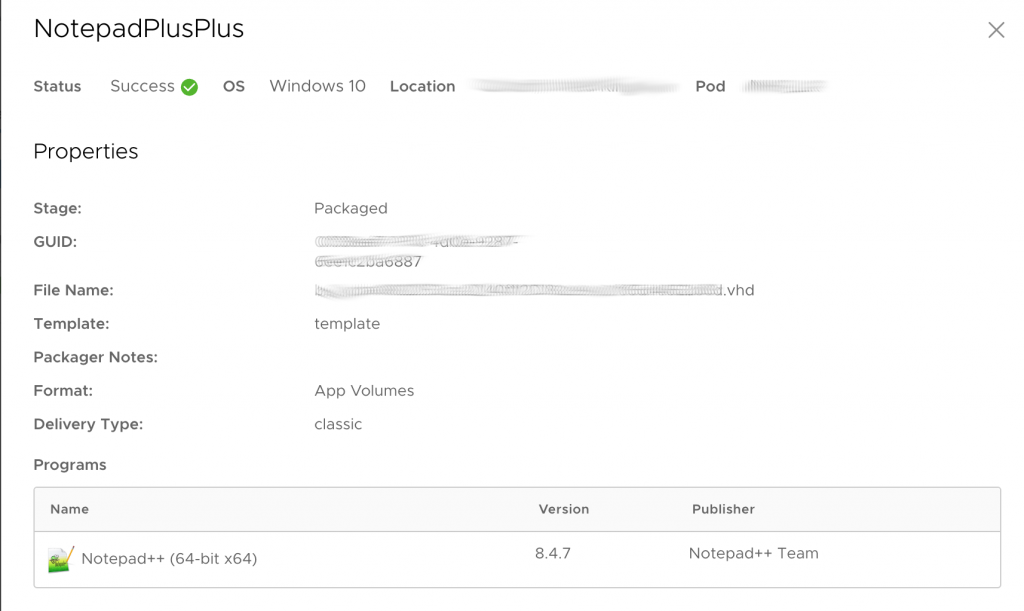
Note the File Name is the important step to remember here! For now we can close this dialog.
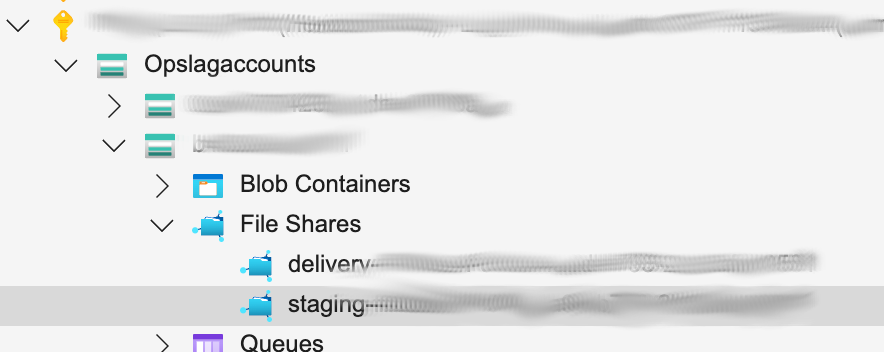
Let’s start Azure Storage Explorer:
I will not explain in depth how the Storage Explorer in detail works. But what needs to be done is the files copied from source location to destination location
We browse to : Storage Accounts – File Shares (of the storage entity) and then the Staging folder, from there we can browse on the right side in storage explorer to cloudvolumes and then to packages
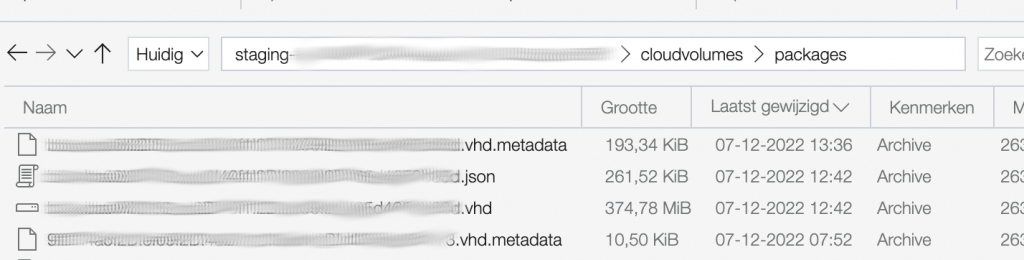
We need to copy the .json file and .vhd file to the destination environment.
We can select these files and just click Copy

Then we browse to the destination environment in the exact same folder cloudvolumes packages and paste the files.

Once copied, we go the the Horizon Cloud Console Plane of the Destination Environment
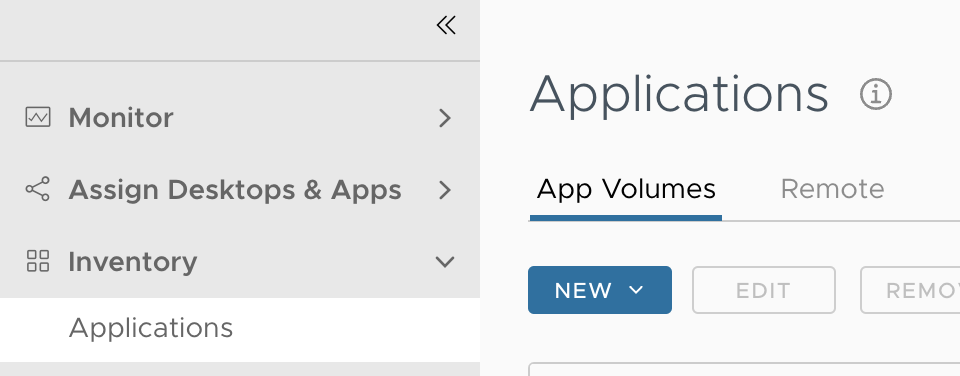
Go To Inventory, Application and click on New
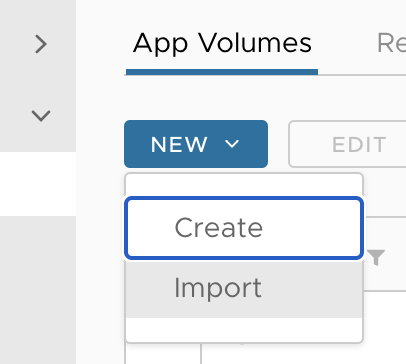
Then we do Import:
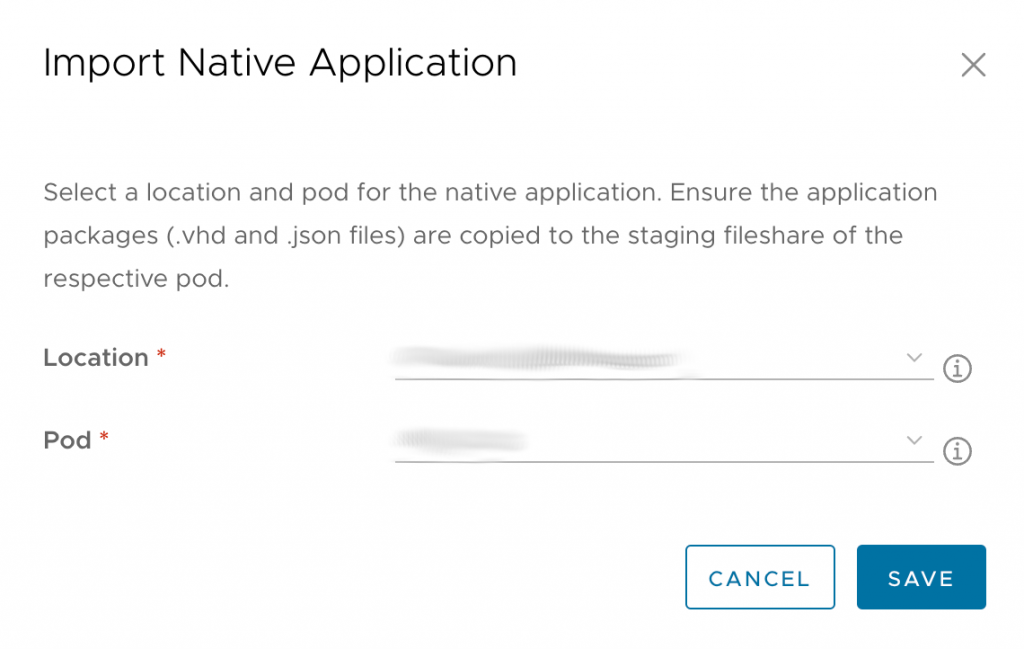
We select (or leave default) Location and Pod and Click Save
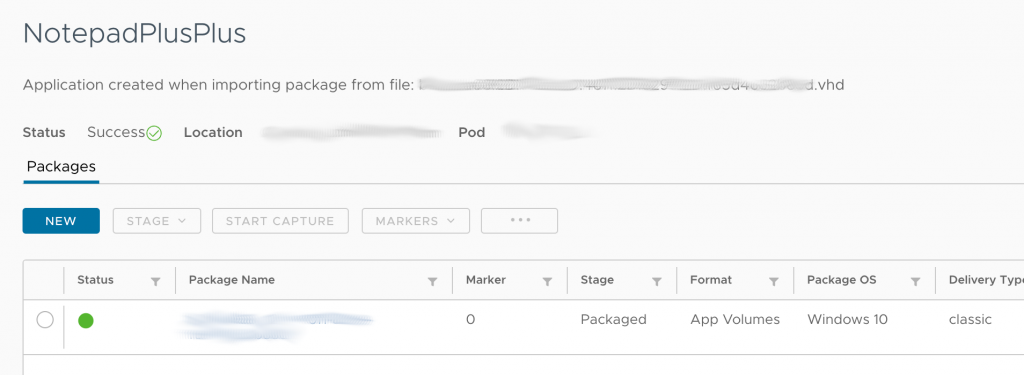
Then the application will appear as a GUID in the list;

We should rename the Application and the Package to have clear which application it is
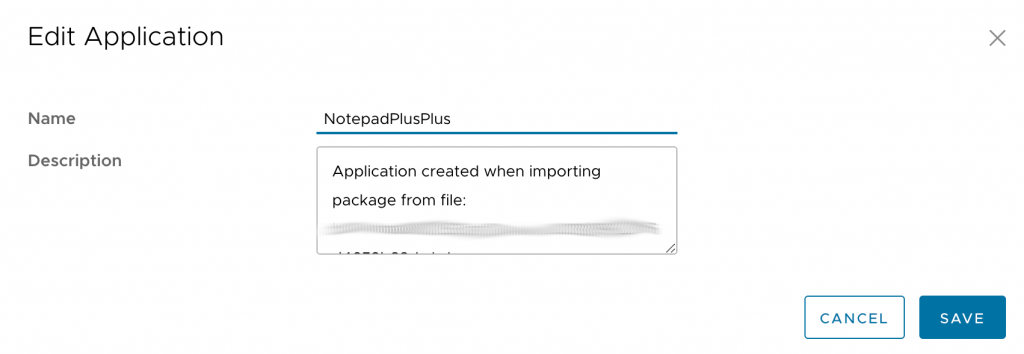
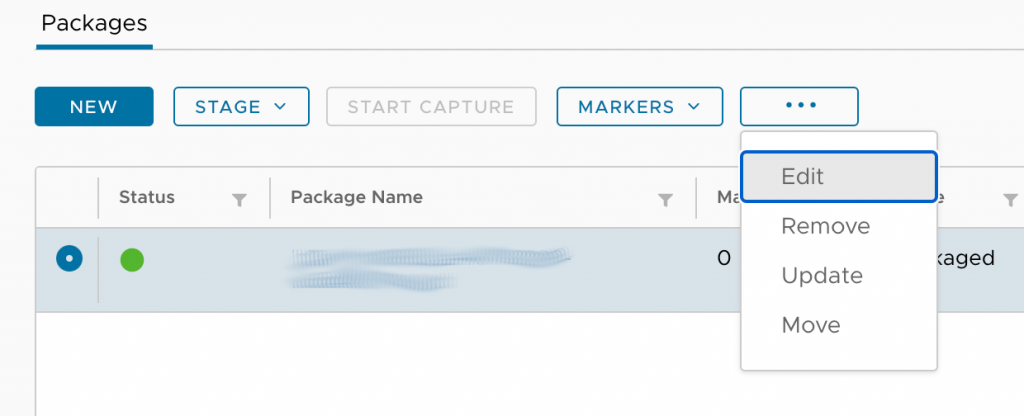
We do the same for the Package when we click on the application:
We Edit the Package and change the name
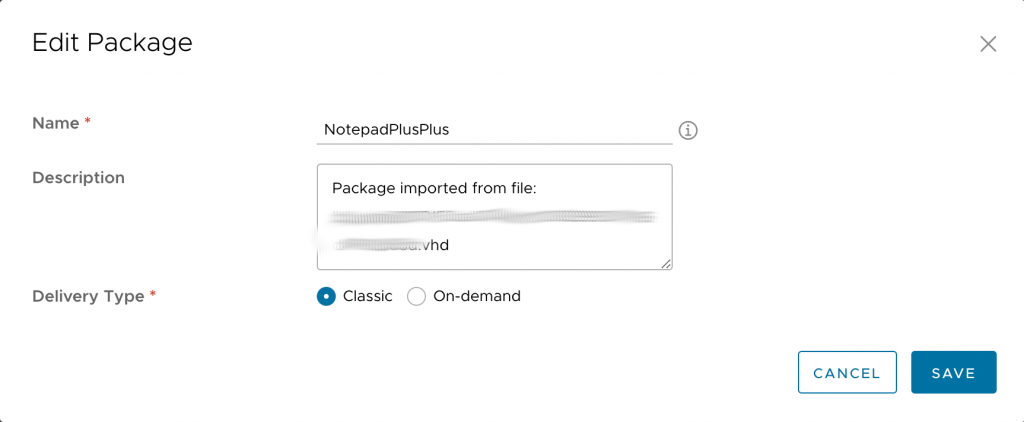
When we have the package name and the application name set, we click Save and we are done, the application is successfully imported!
The only thing we need to do next is assign the App Volume Application, we go to the Edit App Volumes Assignment for the Assisgnment where we assign the application:
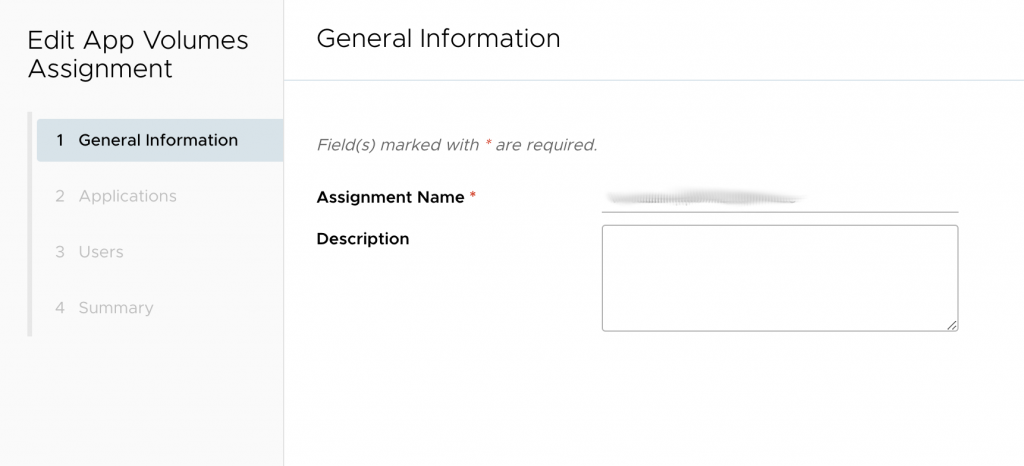
In General we leave all default and click next

Here we select our Imported Application NotePadPlusPlus and click Next
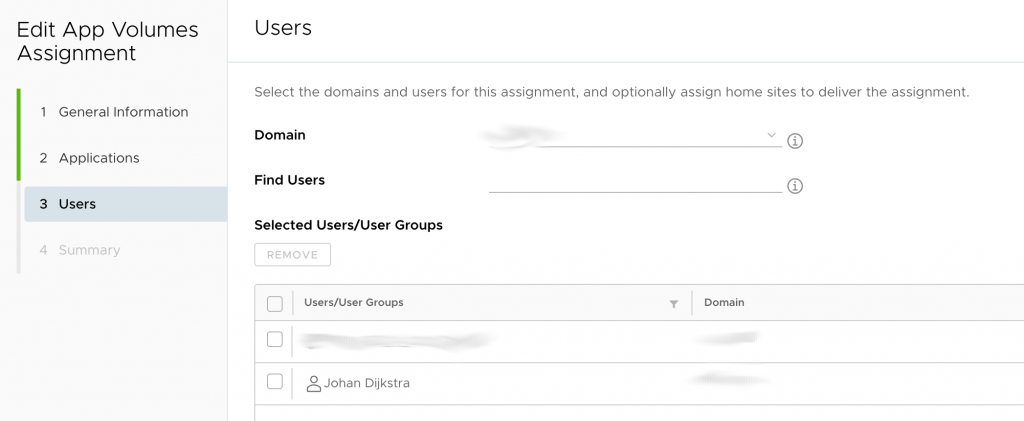
In the Users sections we leave default or add a User like me and click next
If Summary meets our expectations, we can click Finish.

Then the application should be available in the User Session!