Welcome to this post about AppVolumes Horizon Cloud on Azure.
Currently I am working for a customer on which they use AppVolumes for their applications, I have noticed some items which might become in handy, so for that reason I created this post.
Let’s get started!
Log into Horizon Cloud on Azure
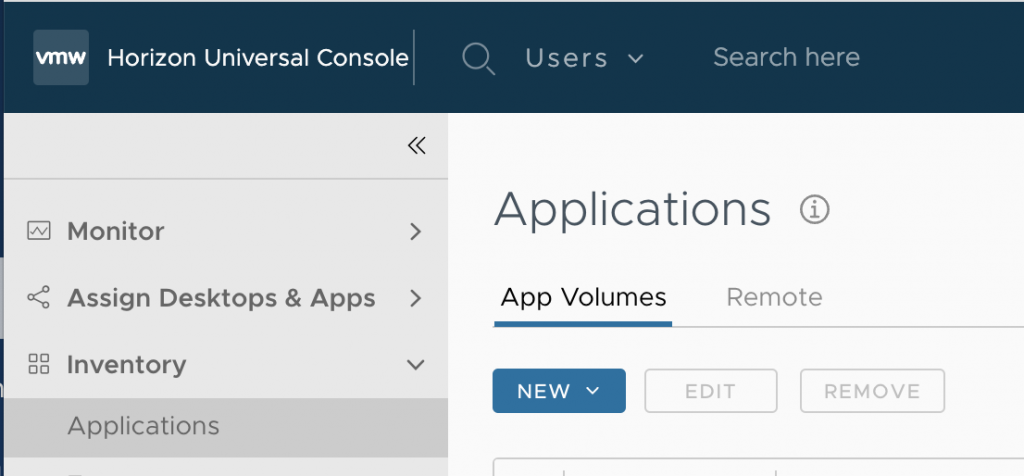
Click New…
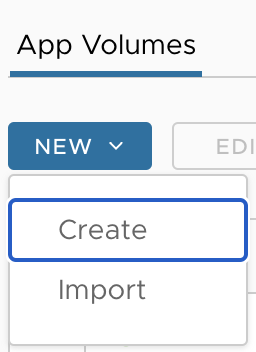
Click Create
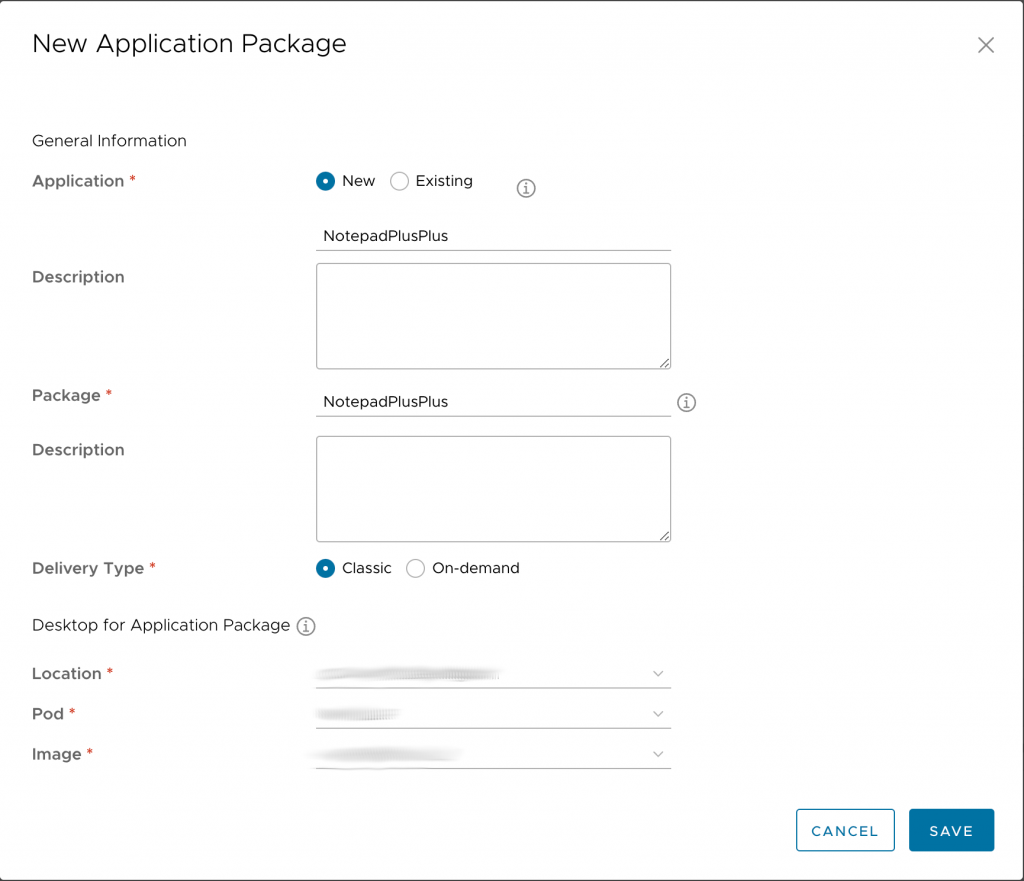
Choose New Application, give the Application a name, important notice:
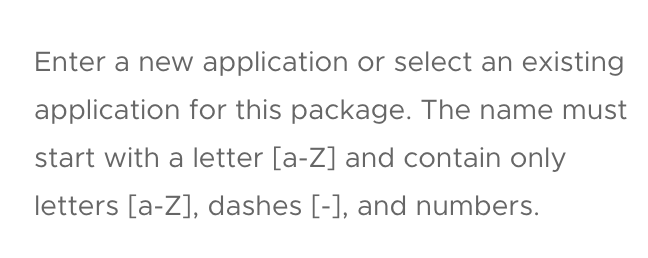
Then give the Package a name, the naming convention is not applicable from the application name!
We leave delivery in this blog Classic, the Desktop For Application Package we leave it customer/environment default-specific. The only thing we need to have right is the Image used for packaging, for this you normally use an empty clean image.
When click on Save, the Desktop will be created


Please be patient as this proces can take a while!
Until it’s done:

But, not until:

Status here is still in Desktop Creation in Progress, sometimes this will stay forever, then you need to remove the package and start over.
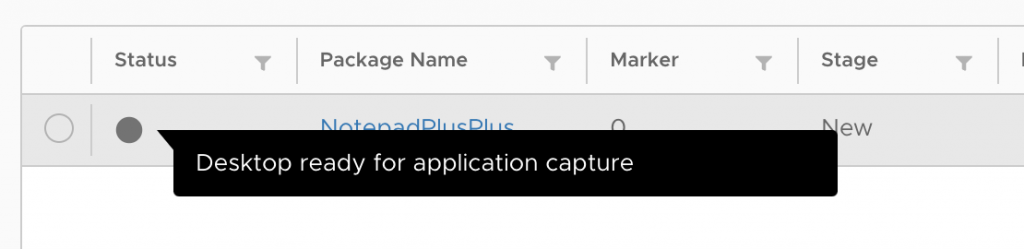
When ready it will have this status and we can start capture the installation
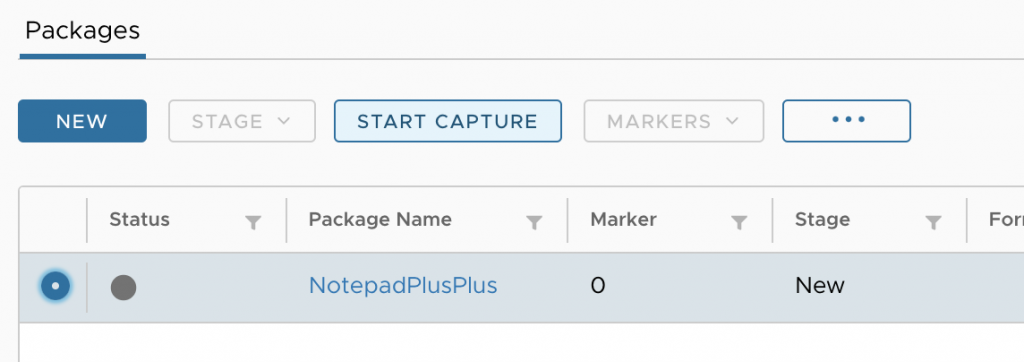
First Select the Package (NotepadPlusPlus) Second click on Start Capture
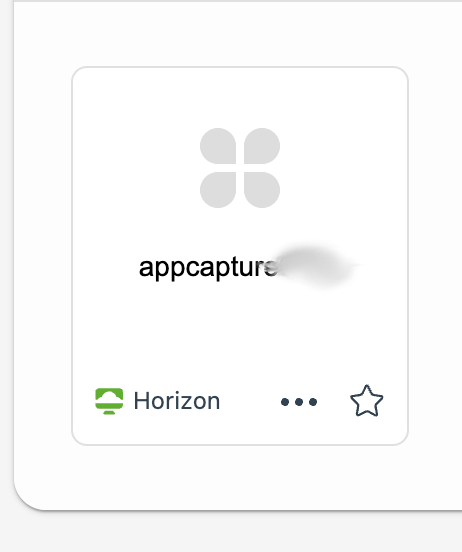
And then we can start the capture machine:
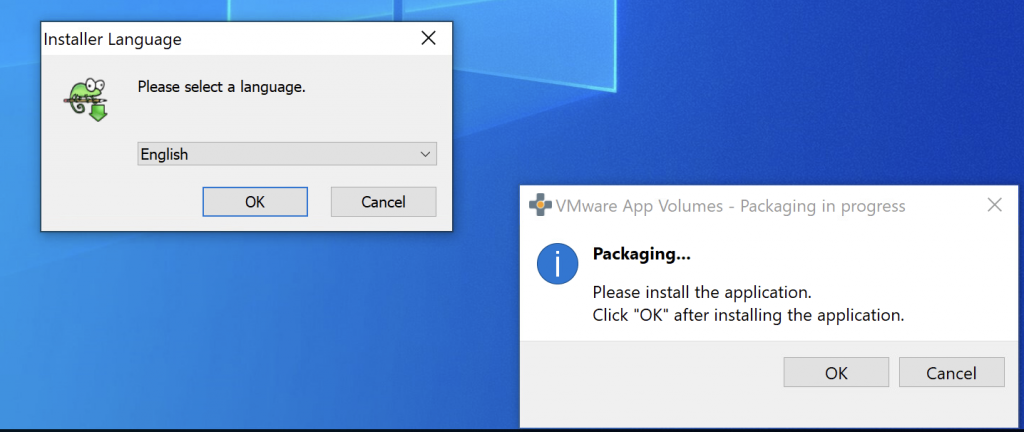
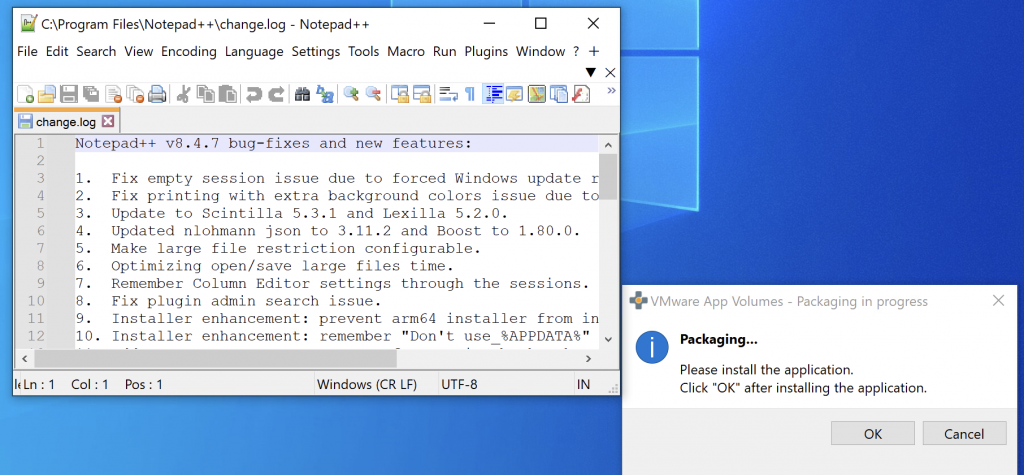
When the machine is started we can install our application, App Volumes gives the following message when logged on to the packing machine:
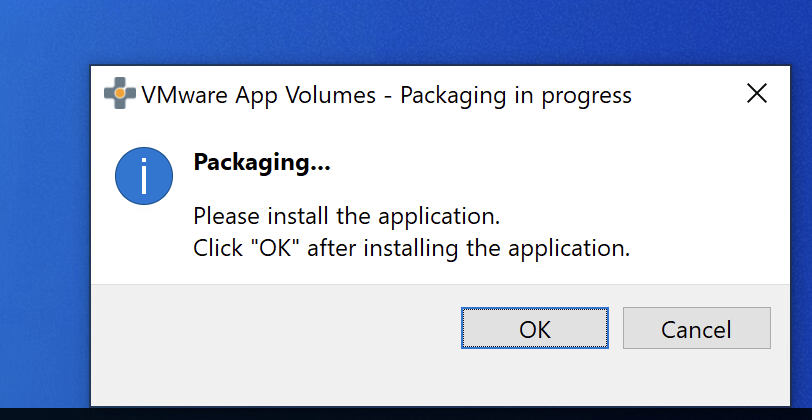
Following step is to install the Application, let’s install NotePad++
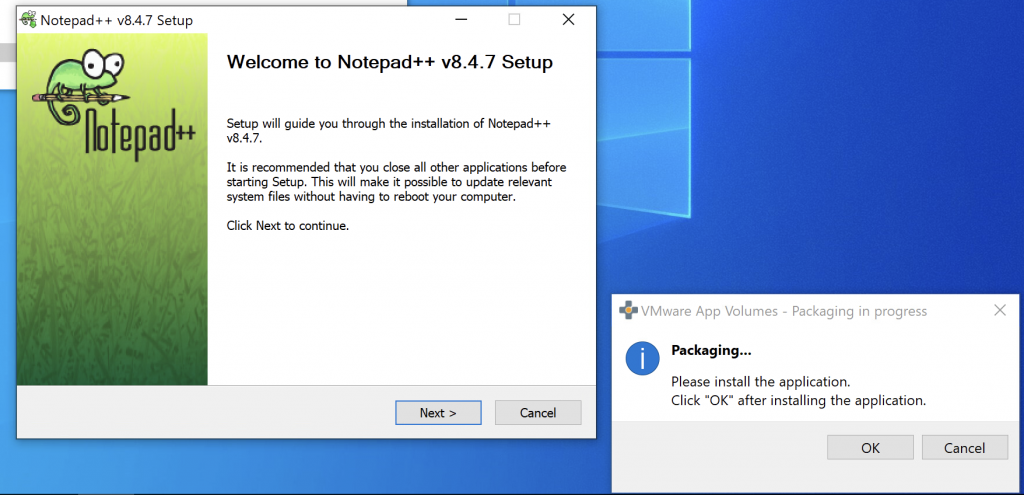
We install the application as we usually do:
Just Next Next Finish:
Keep in mind that the VMware App Volumes Manager is in the background..
When the installation is finished we can check if it works:
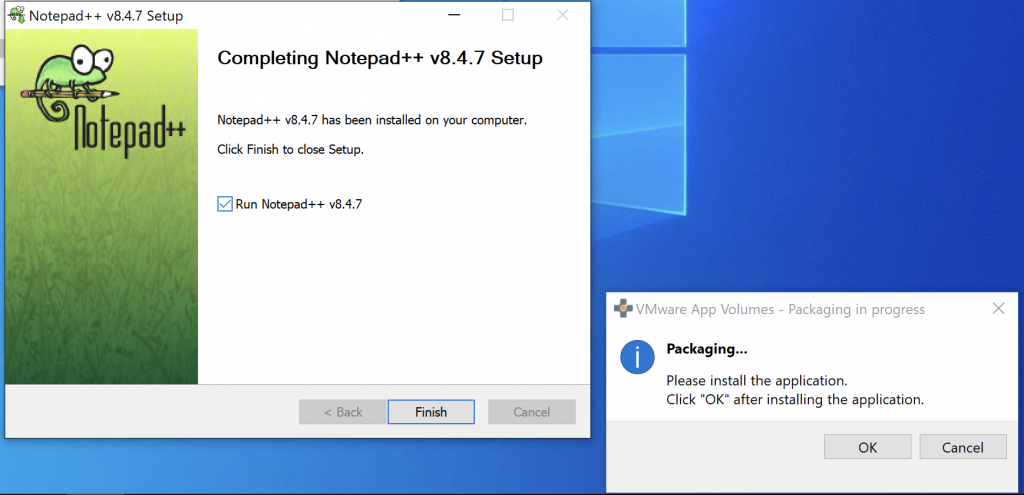
It does:
So we can close the application and finish the packaging proces:
It will ask if the installation is complete:
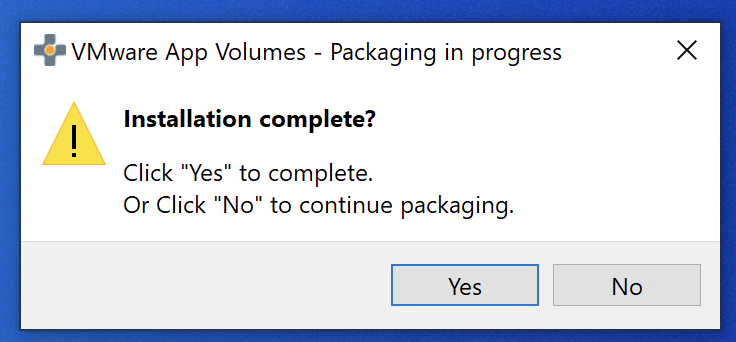
We say Yes!
It will ask for the Name and Version of the application, you may enter additional notes here:
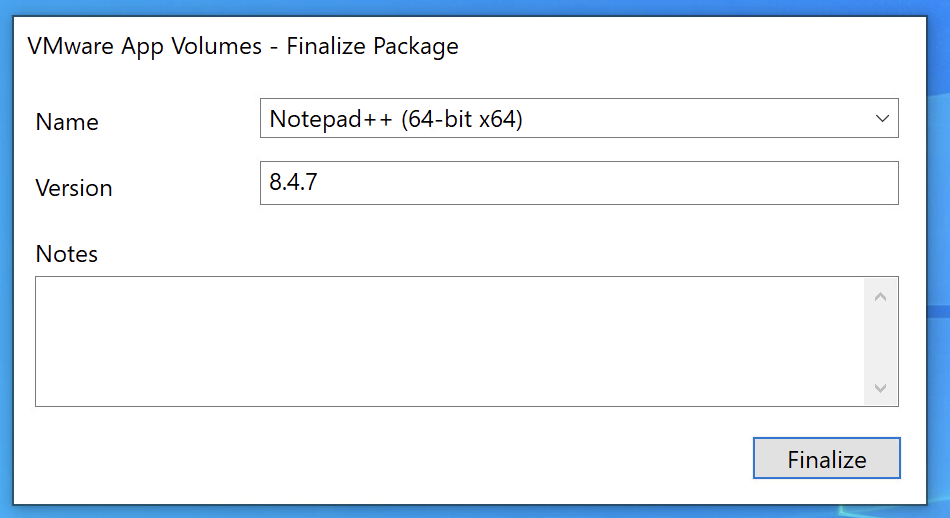
After pressing Finalize the system will reboot to finish the installation/packaging proces so logon after this! (important step!)
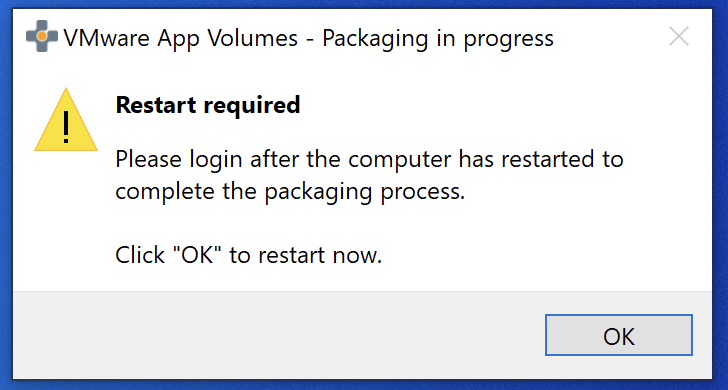
After logging in, we receive the following message:
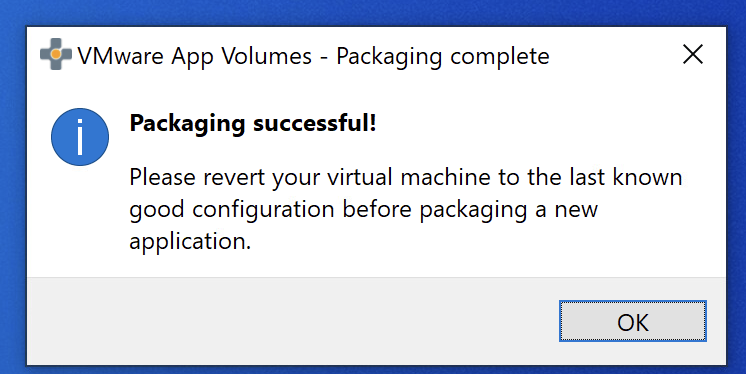
So the packaging proces was successful! We now have an App Volumes package! Almost…
We can now shutdown this machine and later destroy it (we always want to have a clean machine to start with)

In the Cloud Console the status is:

The stage should be Packaged and the Status should be Green.
Ass there is no Assignment Attached, we cannot test nor publish it to users, so let’s do that! We will publish this application to me as a user:
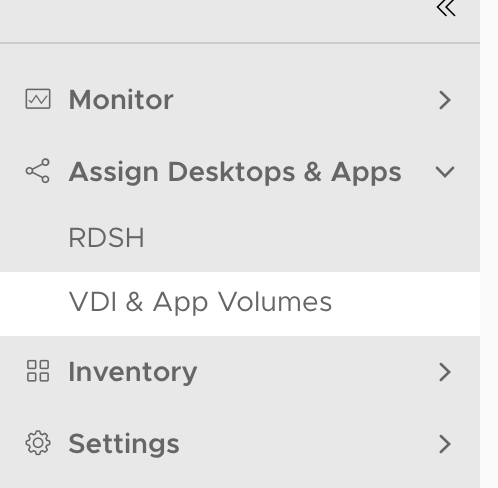
Let’s go to VDI & App Volumes
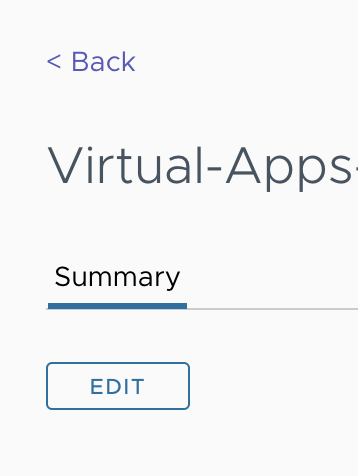
We have a Virtual Apps Assignment in which we can attach applications, let’s Edit that one and attach our new application
We leave the General Information Default (no changes here)
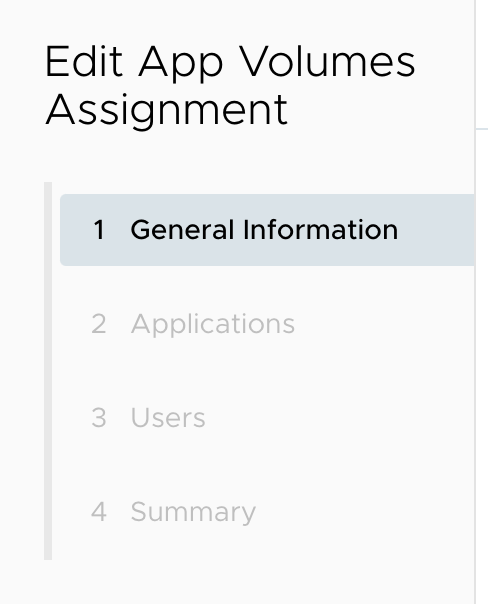
Under Applications we are going to add NotepadPlusPlus:
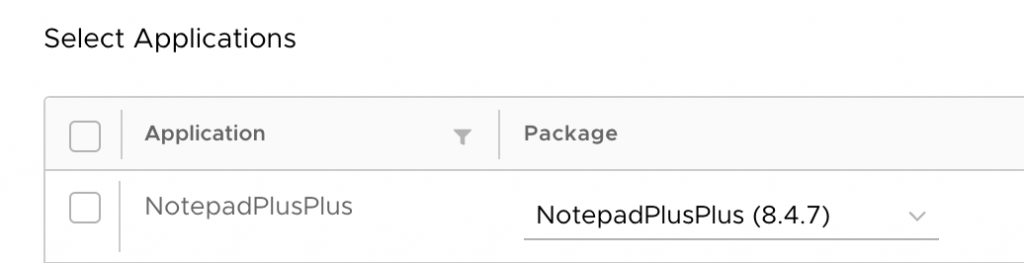
We Select it:
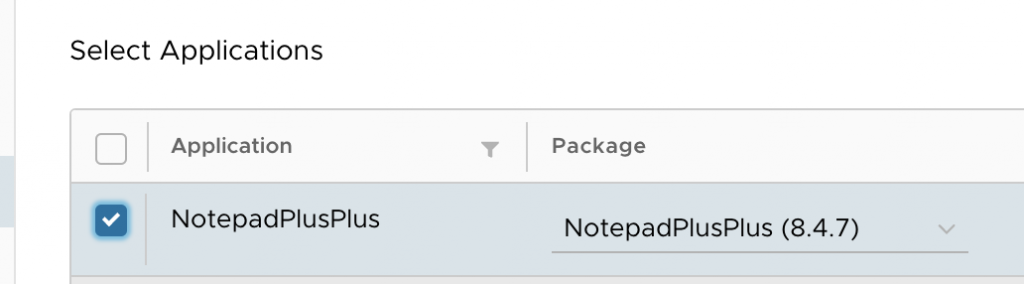
And Click Next

Under Users we can attach users, like my own:
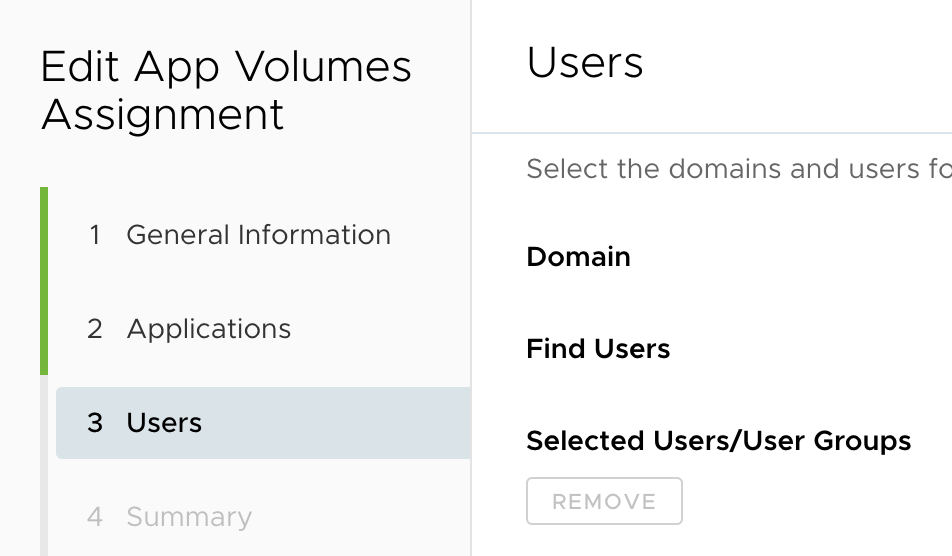
We click Next and in the Summary we click Finish
Beware that App Volumes packages are always User Based/assigned, so never attach 2 of the same applications to 1 user, i.e. if you have an Acceptance and Production Environment. Make sure you have an other user in Acceptance than in Production to test!

And it works 😀 So we have successfully published the application.
As you can see the whole proces of packaging for Horizon Cloud on Azure with App Volumes is not difficult and easy to maintain.
Some giveaways :
Always keep in mind that AppVolumes is USER Based, not machine/catalog. I have seen this going wrong!
When troubleshooting, place a dummy text file with date/time stamp and application name (and maybe additional information) and place it in the directory where the application is installed. When Loading the application you can validate if you have the correct packaged application in the Environment.