For a customer we where checking the posibilities to deploy multiple VM’s simulatinously and in one time. Instead of deploying machine by machine
We have checked vRealize Orchestration, but maybe this tool is a little too much for just deploying machines. So when looking further, there are lots of examples of deploying VM’s with PowerCLI
But yet, not the way we wanted it to happen. So from all the PowerCLI scripts we have created one for our (and maybe yours) needs and I will discuss this in this post.
What we want to achieve is to deploy multiple machines from 1 created Template. Unfortunately there is no option in vCenter itself. It’s also possible to deploy VM’s with vRealize Orchestrator. But for the latter, the learning curve might be high, and additional resources are needed (for the vRealize Appliance).
So which options are left then? Well PowerCLI!
It becomes very easy to deploy multiple machines from 1 template.
For the customer it is not possible to just delete the current pool of machines and deploy new ones as they have 24/7 customers. So what’s the idea next? Well, deploy the same amount of servers and do a drain on the current machines and give them access on the new “pool”
So how do we setup the “pool”, they have say 18 Production Machines in use. To do the turn over to the new pool, they use even numbers for let’s say the old pool and non-even numbers for the new pool so it’s scalable from scripting perspective! Downside : you need (temporary) extra capacity for the deployment of new machines. Afterwards the old machines can be destroyed and the next month (or when needed) the whole procedure can be done again, but then from non-even to even numbering of machines
So what have I done? I googled for several scripts and added my own flavor to it 🙂
To start:
There is 1 PowerCLI script (let’s say we call it : deployvm.ps1)
There is 1 Configuration File which will be used for deployment of the machine, let’s say pool.cfg, pool.cfg contains all the information regarding vCenter Connection, ESX Host, Networking, Gateway, Storage etc, here is the list of variables:
$vcenter = $config."vcenter"
$serverRole = $config."server role"
$template = $config."template"
$templateFolder = $config."template folder"
$osCustomization = $config."oscust"
$resourcePool = $config."resourcepool"
$VMhost = $config."VMHost"
$folder = $config."folder"
$cpu = $config."cpu"
$mem = $config."mem"
$disk1 = $config."disk1"
$disk1Mode = $config."disk1 mode"
$disk1DataStore = $config."disk1 datastore"
$disk2 = $config."disk2"
$disk2Mode = $config."disk2 mode"
$disk2DataStore = $config."disk2 datastore"
$nic1 = $config."nic1"
$mask1 = $config."mask1"
$gw = $config."gw"
$dns1 = $config."dns1"
$dns2 = $config."dns2"
The pool1.csv and pool2.csv contains the machines with non-even (the 1) and the even (the 2) numbers of machines, example:
vmname,vmip
RDS_VM_001,10.0.0.167
RDS_VM_003,10.0.0.169
RDS_VM_005,10.0.0.171
RDS_VM_007,10.0.0.173
RDS_VM_009,10.0.0.175
RDS_VM_011,10.0.0.177
RDS_VM_013,10.0.0.179
RDS_VM_015,10.0.0.181
RDS_VM_017,10.0.0.183
RDS_VM_019,10.0.0.185
RDS_VM_021,10.0.0.187
RDS_VM_023,10.0.0.189
RDS_VM_025,10.0.0.191
RDS_VM_027,10.0.0.193
RDS_VM_029,10.0.0.195
RDS_VM_031,10.0.0.197
RDS_VM_033,10.0.0.199
RDS_VM_035,10.0.0.201
If have also used non-even numbers for the ip-addresses. Feel free to use DHCP instead!
The Even numbers are as expected:
vmname,vmip
RDS_VM_002,10.0.0.168
RDS_VM_004,10.0.0.170
RDS_VM_006,10.0.0.172
RDS_VM_008,10.0.0.174
RDS_VM_010,10.0.0.176
RDS_VM_012,10.0.0.178
RDS_VM_014,10.0.0.180
RDS_VM_016,10.0.0.182
RDS_VM_018,10.0.0.184
RDS_VM_020,10.0.0.186
RDS_VM_022,10.0.0.188
RDS_VM_024,10.0.0.190
RDS_VM_026,10.0.0.192
RDS_VM_028,10.0.0.194
RDS_VM_030,10.0.0.196
RDS_VM_032,10.0.0.198
RDS_VM_034,10.0.0.200
RDS_VM_036,10.0.0.202
So having these items in place, were going to the script.
To explain what I have done, when using the script, the config file (pool.cfg) must have the same name as for the input files for the vm’s i.e. pool1.csv & pool2.csv. The 1 and 2 are needed to differentiate between them
 [CmdletBinding()]
Param(
   [Parameter(Mandatory=$False,Position=1)]
   [ValidateNotNullOrEmpty()]
   [string]$csvfile
)

Function Get-FileName($initialDirectory){
    [System.Reflection.Assembly]::LoadWithPartialName("System.windows.forms") | Out-Null

    $OpenFileDialog = New-Object System.Windows.Forms.OpenFileDialog
    $OpenFileDialog.initialDirectory = $initialDirectory
    $OpenFileDialog.filter = "CSV (*.csv)| *.csv"
    $OpenFileDialog.ShowDialog() | Out-Null
    return $OpenFileDialog.filename
}

###############
# Main script #
###############

#variables
$ScriptRoot = Split-Path $MyInvocation.MyCommand.Path
$StartTime = Get-Date -Format "yyyyMMddHHmmss_"
if ($PSBoundParameters.ContainsKey('csvfile')){
	$vmlistfile = import-csv $csvfile
}
else{
	while ($csvfile -eq "") {$csvfile=Get-FileName}

}

    $vmlistfile = import-csv $csvfile
    $configfile = $csvfile.split('.')[0]
    $configfile = $configfile.Substring(0,$configfile.Length-1)
    $configfile = $configfile + ".cfg"
    $config = import-csv $configfile

    $vcenter = $config."vcenter"
    $serverRole = $config."server role"
    $template = $config."template"
    $templateFolder = $config."template folder"
    $osCustomization = $config."oscust"
    $resourcePool = $config."resourcepool"
    $VMhost = $config."VMHost"
    $folder = $config."folder"
    $cpu = $config."cpu"
    $mem = $config."mem"
    $disk1 = $config."disk1"
    $disk1Mode = $config."disk1 mode"
    $disk1DataStore = $config."disk1 datastore"
    $disk2 = $config."disk2"
    $disk2Mode = $config."disk2 mode"
    $disk2DataStore = $config."disk2 datastore"
    $nic1 = $config."nic1"
    $mask1 = $config."mask1"
    $gw = $config."gw"
    $dns1 = $config."dns1"
    $dns2 = $config."dns2"

Connect-VIServer $vcenter -Credential (Get-Credential $cred)

foreach($vm in $vmlistfile)
{
   $vmname = $vm."vmname"
   $vmip = $vm."vmip"

#Get the Specification and set the Nic Mapping
write-host $osCustomization
write-host $vmip
write-host $mask1
write-host $gw
write-host $dns1
write-host $dns2
write-host $vmname

New-OSCustomizationNicMapping -Spec $osCustomization -IpMode UseStaticIp –Position 1 -IpAddress $vmip -SubnetMask $mask1 -DefaultGateway $gw -Dns $dns1

#Create VM using Template with the adjusted Customization Specification

New-VM -Name $vmname -RunAsync -Template $template -Datastore $disk1DataStore -VMHost $VMhost -ResourcePool $resourcepool | Set-VM -OSCustomizationSpec $osCustomization -Confirm:$false

#Set the Network Name
Get-VM -Name $vmname | Get-NetworkAdapter | Set-NetworkAdapter -NetworkName $nic1 -Confirm:$false

#Set the CPU and Memory
Get-VM -Name $vmname  | Set-VM -MemoryGB $mem -NumCPU $cpu -Confirm:$false -RunAsync

#Additional Disk
Get-VM -Name $vmname | New-HardDisk -CapacityGB $disk2 -StorageFormat $disk2Mode -Confirm:$false

#Remove the NicMapping
Get-OSCustomizationSpec $osCustomization | Get-OSCustomizationNicMapping | Remove-OSCustomizationNicMapping -Confirm:$false

#PowerOn VM
Start-VM $vmname
}

#Disconnect from VC.
disconnect-VIServer $vcenter -Confirm:$false
Let’s start and execute the script!
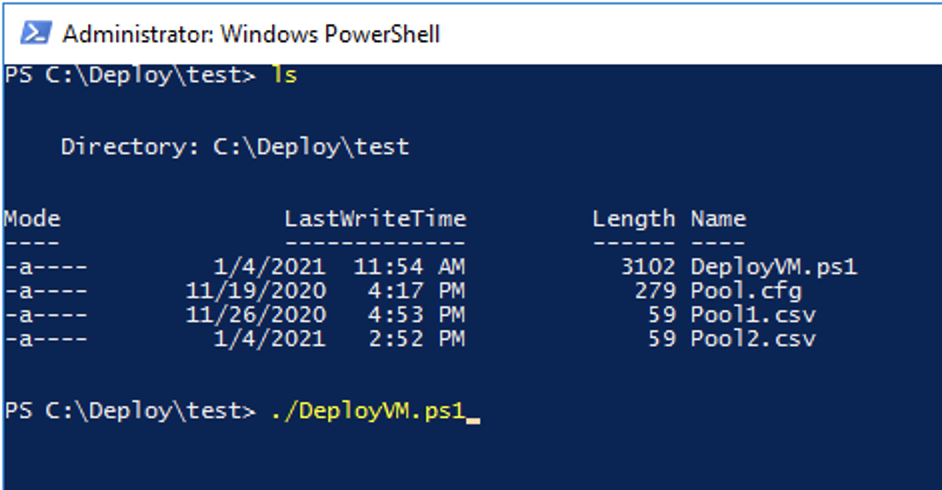
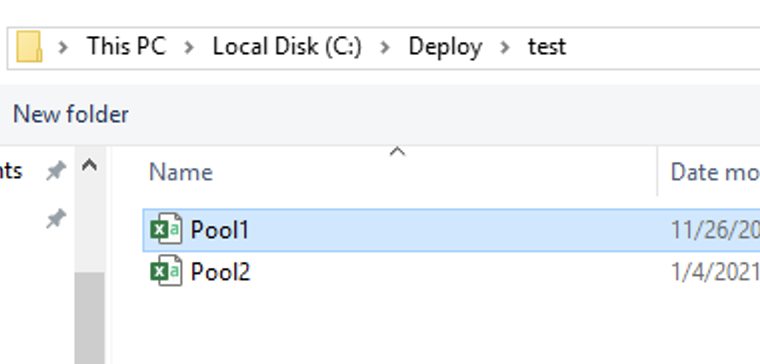
When starting the script without any CSV file as parameter, a dialog box opens to open a CSV File:
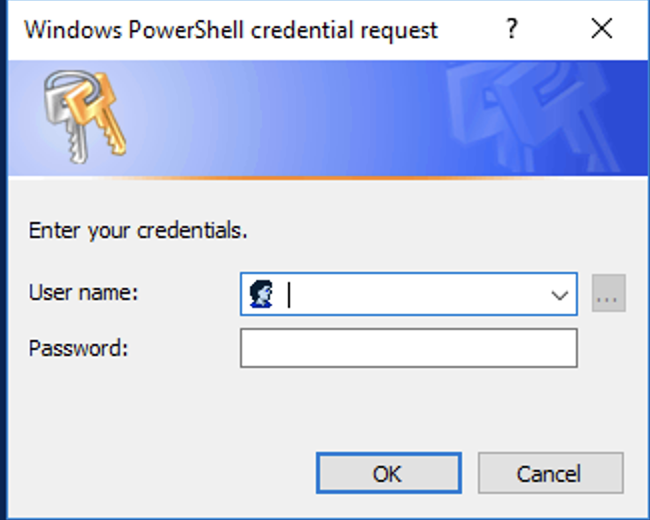
After that, you need to enter the vCenter Credentials in order to create new VM’s:
When all goes well, the VM’s will be created:

When the deployment is finished we should have our new machines ready and running!