And this is where it comes toghether
Welcome back to this post
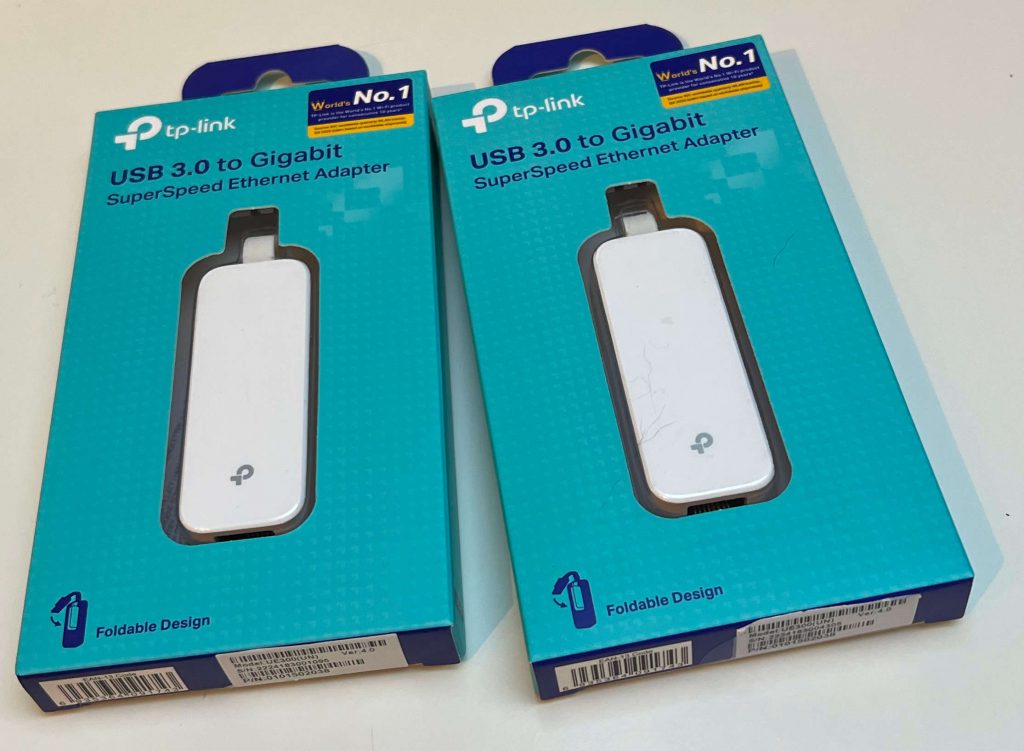
Today I got 2 USB Gigabit Adapters in my mail
And guess what? We are going to install ESXi today!
Because my lab is still running vSphere 7, I decided to stick with that and install ESXi 7 to the new NUC…
So..

Let’s shut down and go to ESXi
So first I needed to create a Custom ISO, because the NIC drivers are not already in the image. There are several blog articles how to do this.
Because my lab is still running 6.7 (yes need to update soon) i stick to 6.7 for now, later I will do an upgrade of my lab.
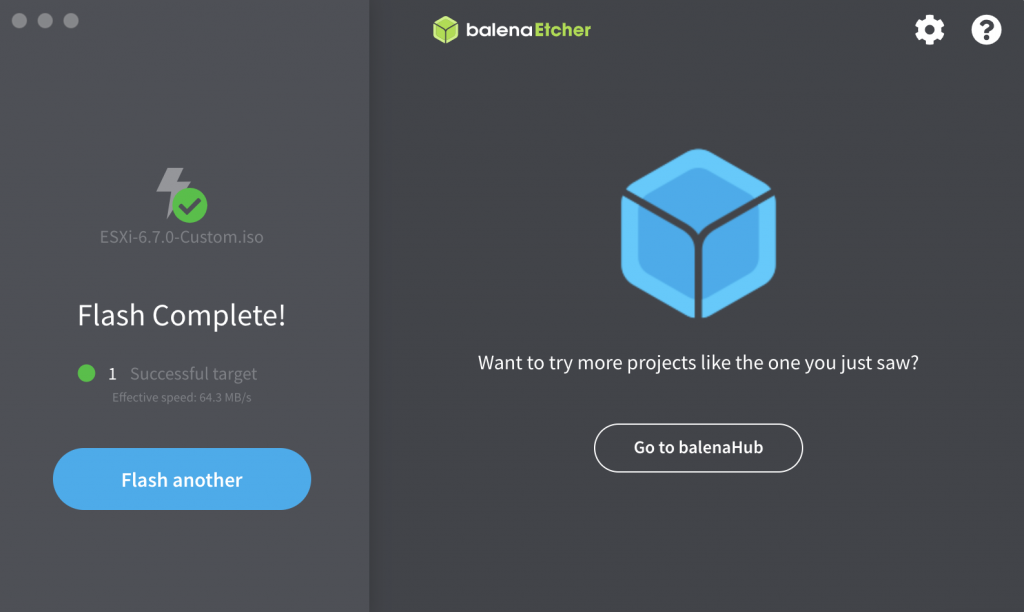
So, first I flashed my new custom ISO with Balena Etcher:
Hmmm:
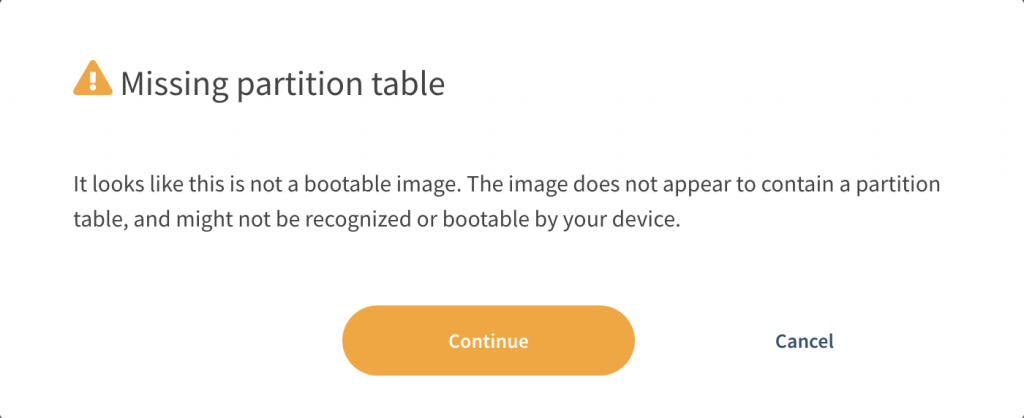
But don’t let you be fooled, it works 🙂
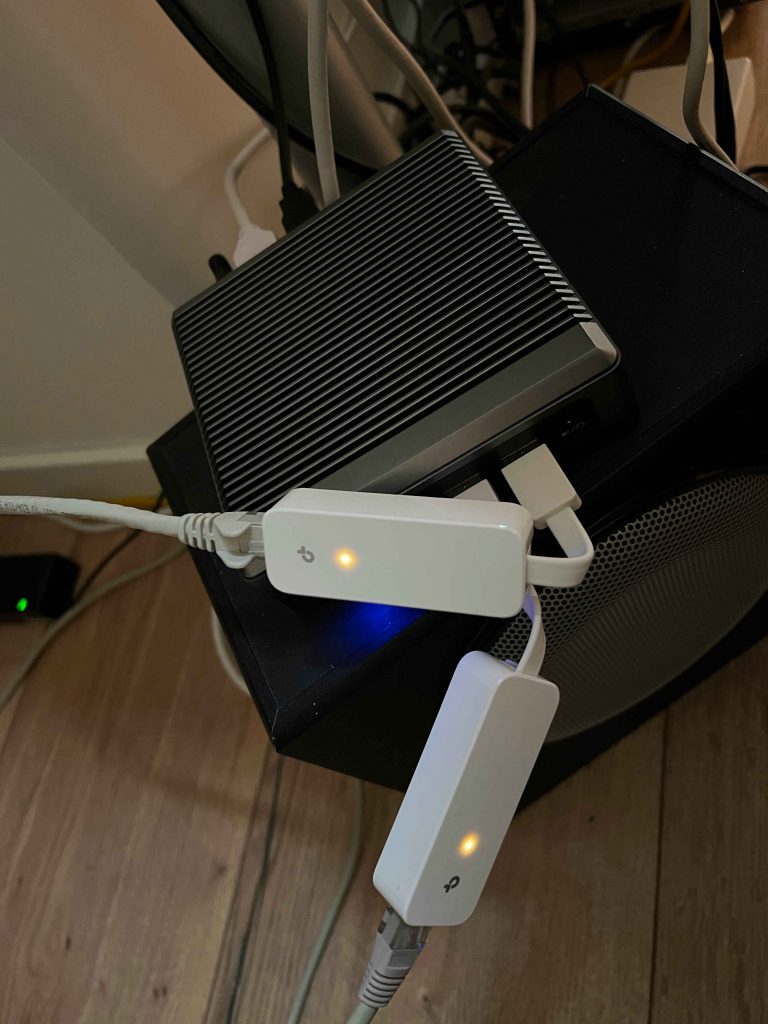
And the next step is to attach the USB NIC’s and the USB Bootable stick to go and install ESXi on my MaxTang NUC
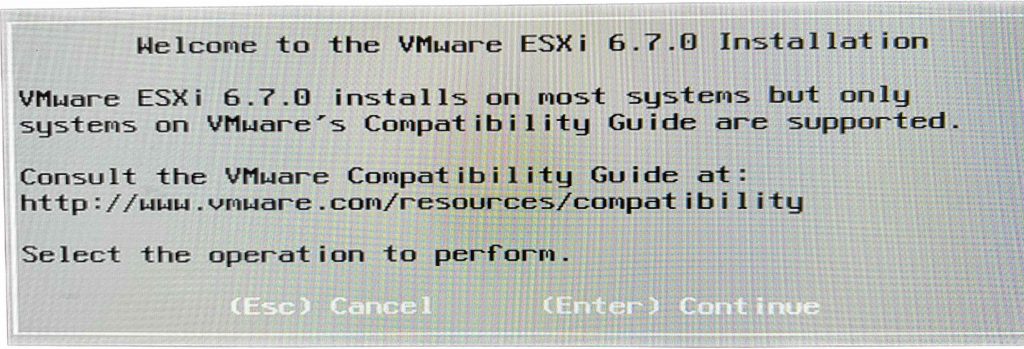
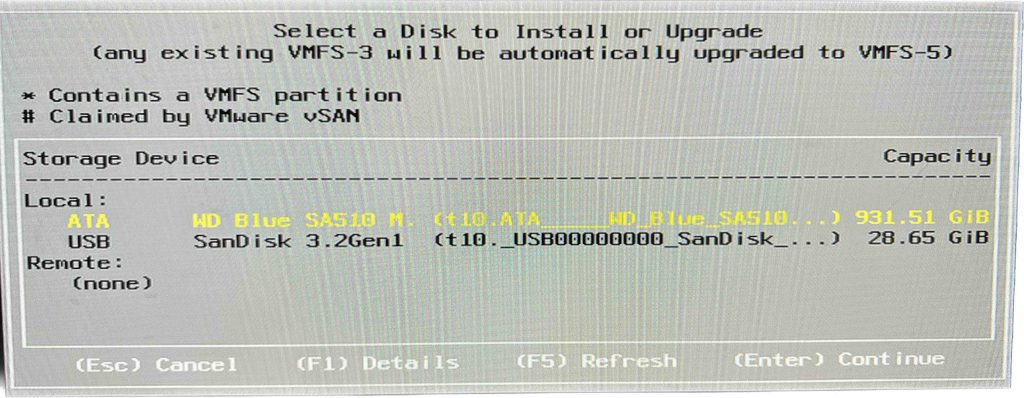
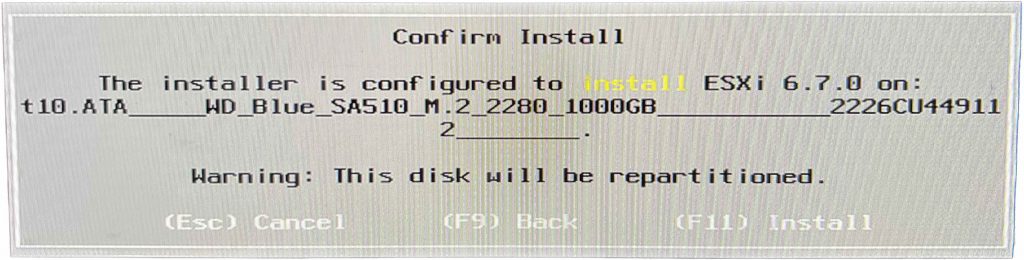
And start the installation:
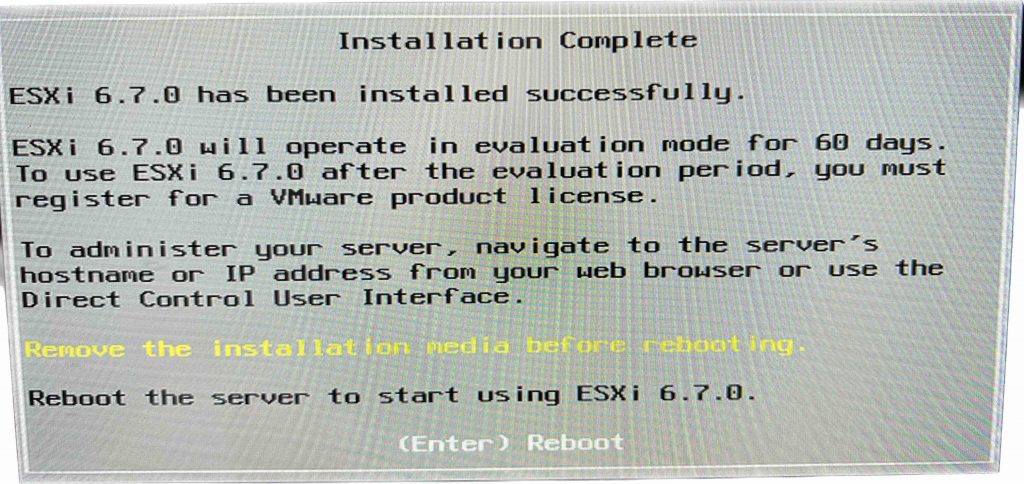
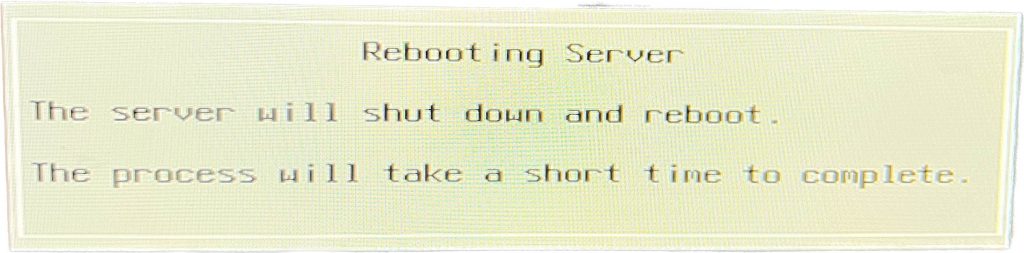
And we’re done 🙂
What a breeze…
Works like a charm!
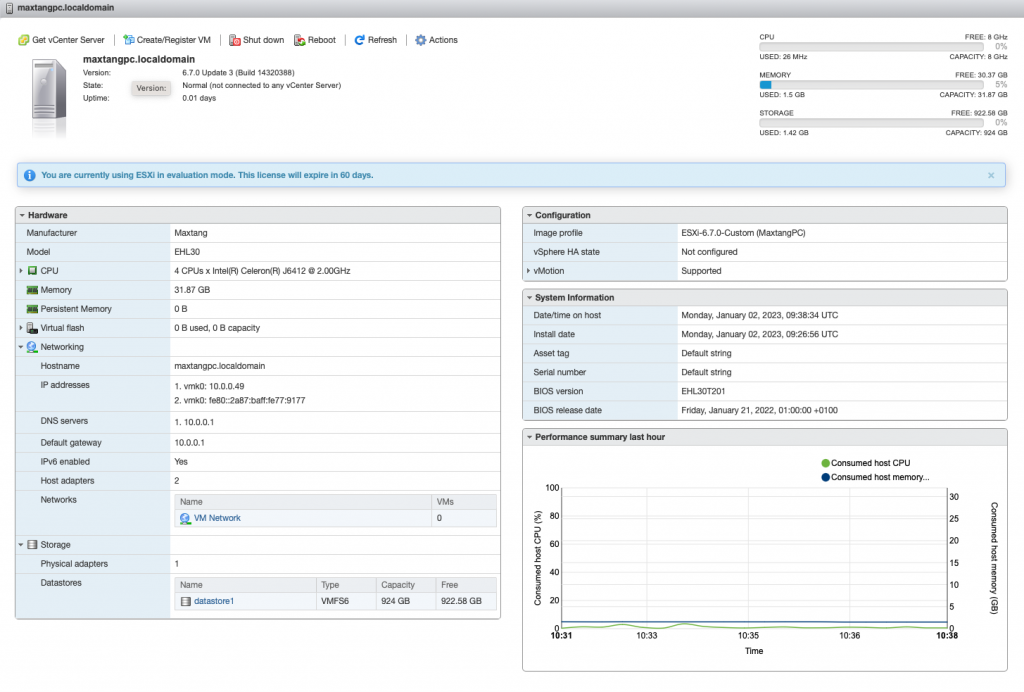
So, to be honest, the installation on the Maxtang PC with ESXi is a lot easier then installing ProxMox.
I had no issues with reboots etc, installation went smooth. I did the ProxMox Installation 3/4 times before I could use it, did a lot of troubleshooting for the network issue I had and the reboot issue, which I – in the end – could not resolve, maybe spending more time, but ESXi is for me the better choice 🙂