In this Post I will go through implementing Microsoft WDAC
WDAC is Windows Defender Application Control.
It is more effective then Microsoft AppLocker.
I am implementing this for a customer environment.
Let’s go and WDAC!
First, you need to have a reference machine which you use to create the base policy. Important to know is that all the applications you want to allow, needs to be installed prior to start the Policy Creation proces.
Luckily there is a GUI for creating a policy which can be downloaded here : Microsoft WDAC Wizard
This file you can download is an MSIX, which you (obviously) need to install with PowerShell. Really easy:
Go to the reference machine where you download the Microsoft WDAC Wizards MSIX and put it in a directory where you want and open a PowerShell:
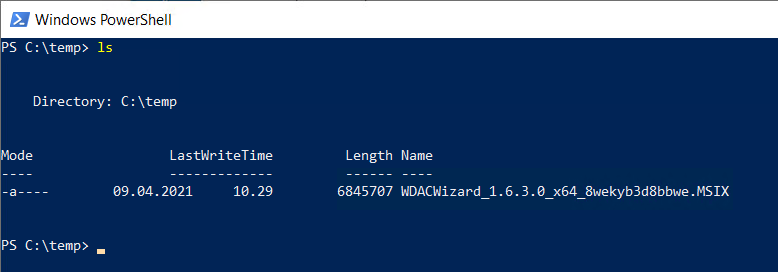
Run the following command to install the WDAC Wizard:
Add-AppPackage -path “C:\temp\WDACWizard_1.6.3.0_x64_8wekyb3d8bbwe.MSIX”
Ofcourse, make sure everything after -path should match your environment and MSIX file!

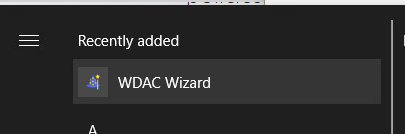
When installed, it is there in the start menu
When starting the WDAC Wizard:
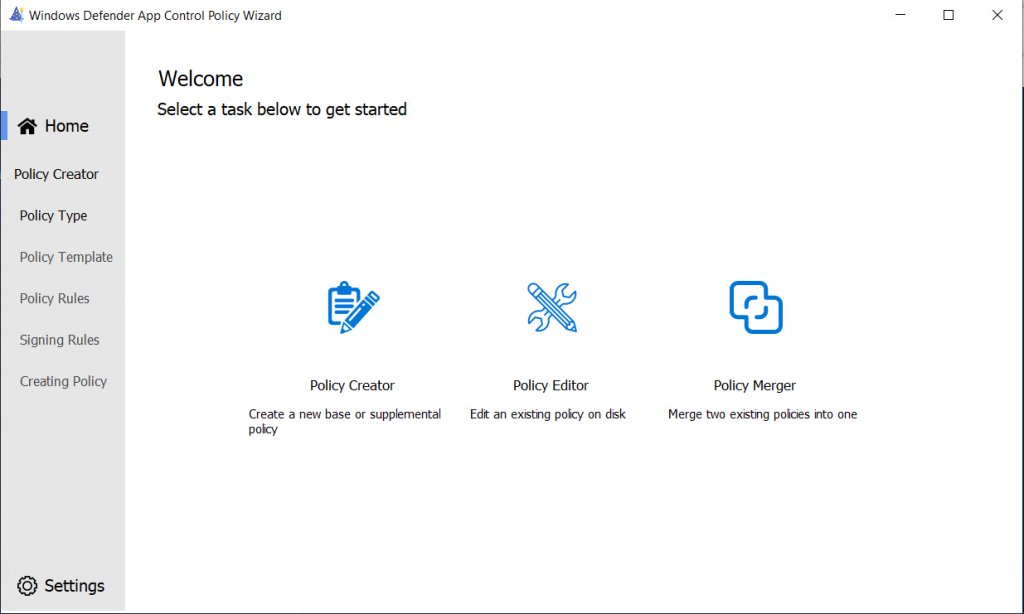
You can immediatly start creating a new policy or edit an existing policy or merge two existing policies into one.
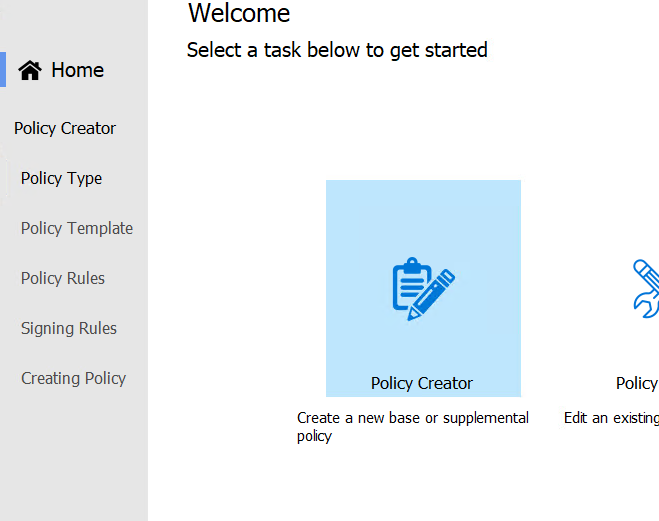
I am going to create a new policy from my reference machine
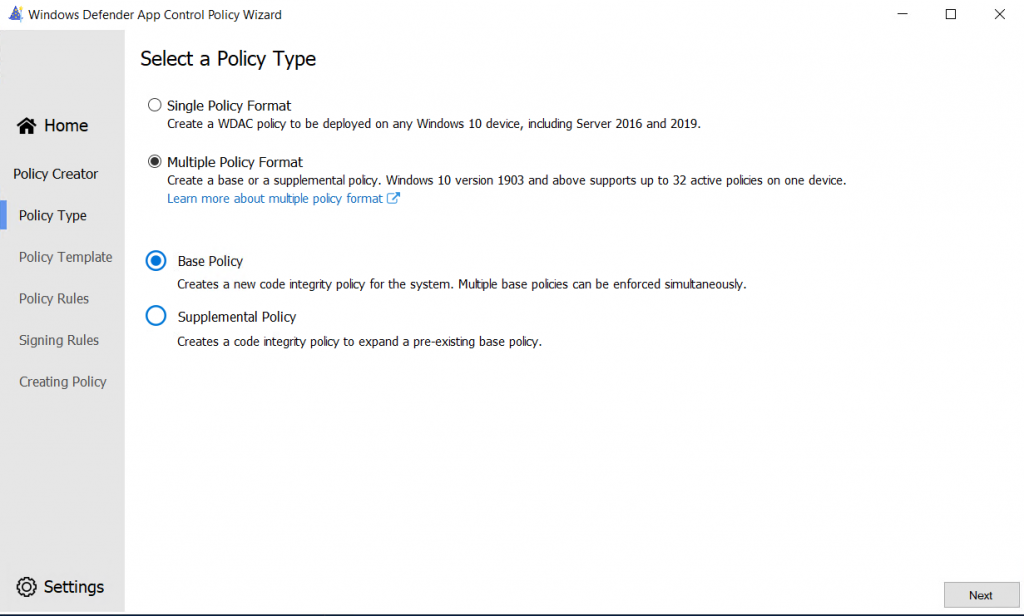
I am going to create a Multiple Policy Format and select Base policy as this is my first policy to create:
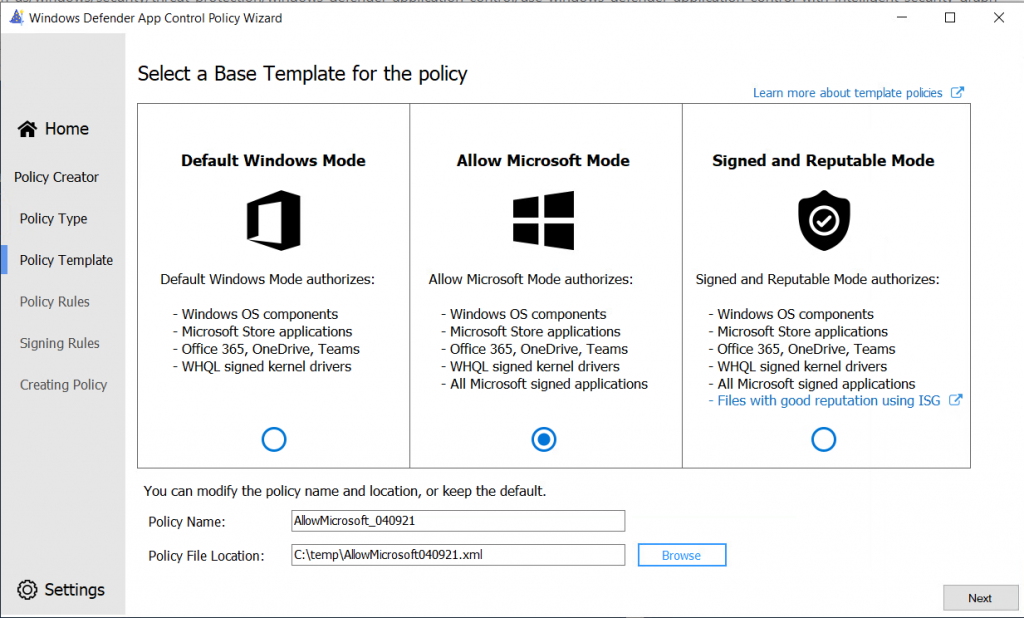
Next, we can choose Default Windows Mode, Allow Microsoft Mode and Signed and Reputable Mode.
Default is only allowing the applications stated and not more, the second allows all Microsoft Applications and the third allow applications to allow automatically if they have a good reputation using ISG (Intelligent Security Graph)
I will choose the Allow MIcrosoft Mode as the applications won’t be delivered through a portal or some kind. The applications being used in the company are static.
In the next screen, we are able to select the policy rules which should be set:

I have changed the settings to the following for customer specific needs:

I will leave the Policy in Audit Mode here, to see what the policy does
There are additional Advanced Options available:
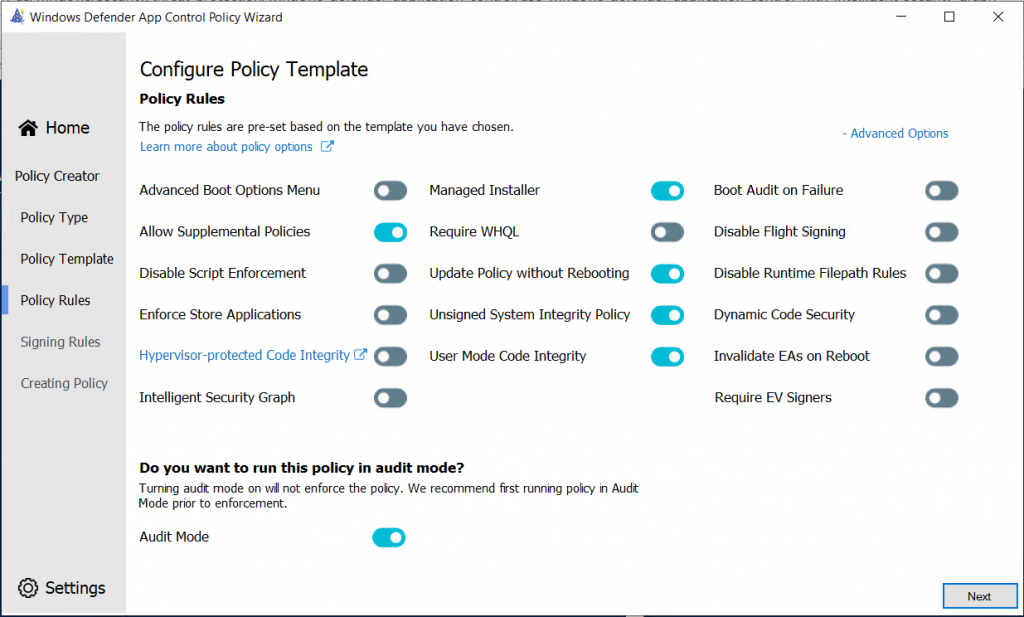
But don’t using them right now.
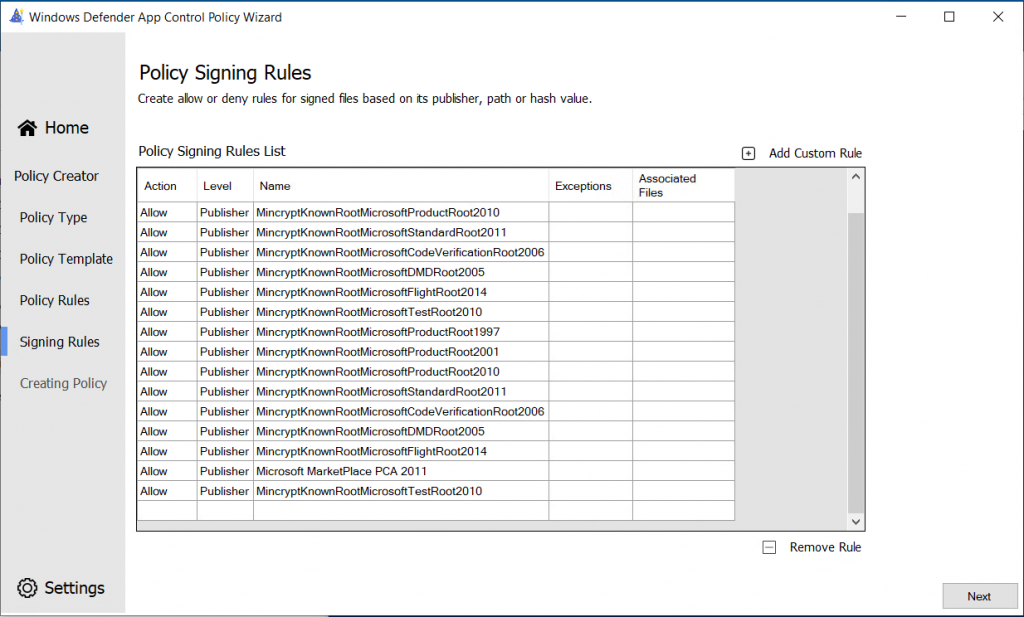
In the next screen, you are able to create allow or deny rules for applications, based on publisher, path or hash value.
We can create additional rules for applications here, I am going to create a rule for Google Chrome:
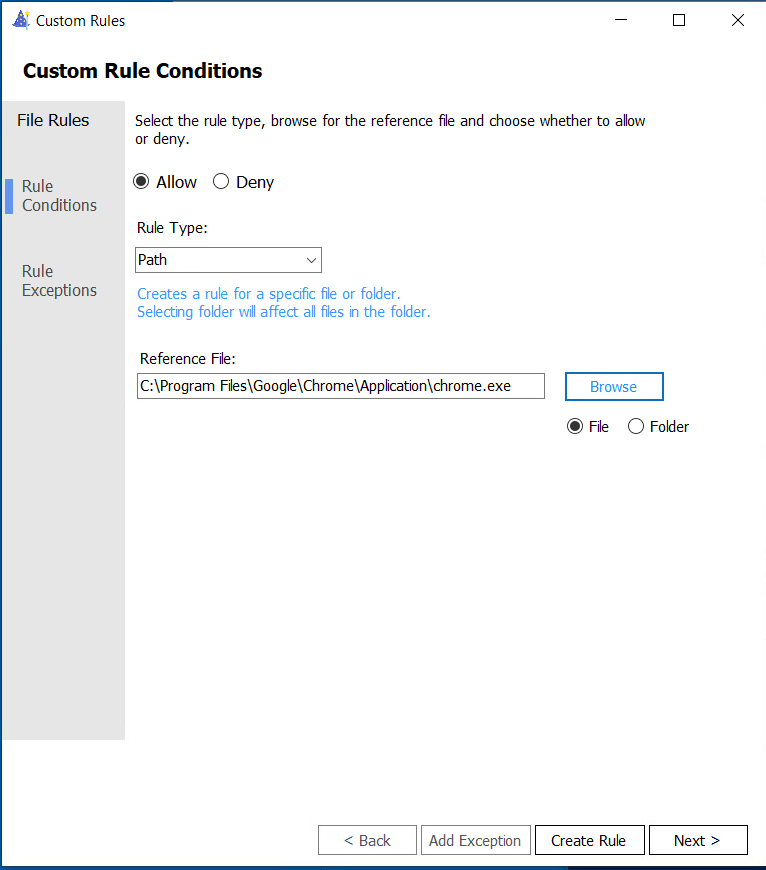
You can even create Custom Rule Exceptions for this rule!:

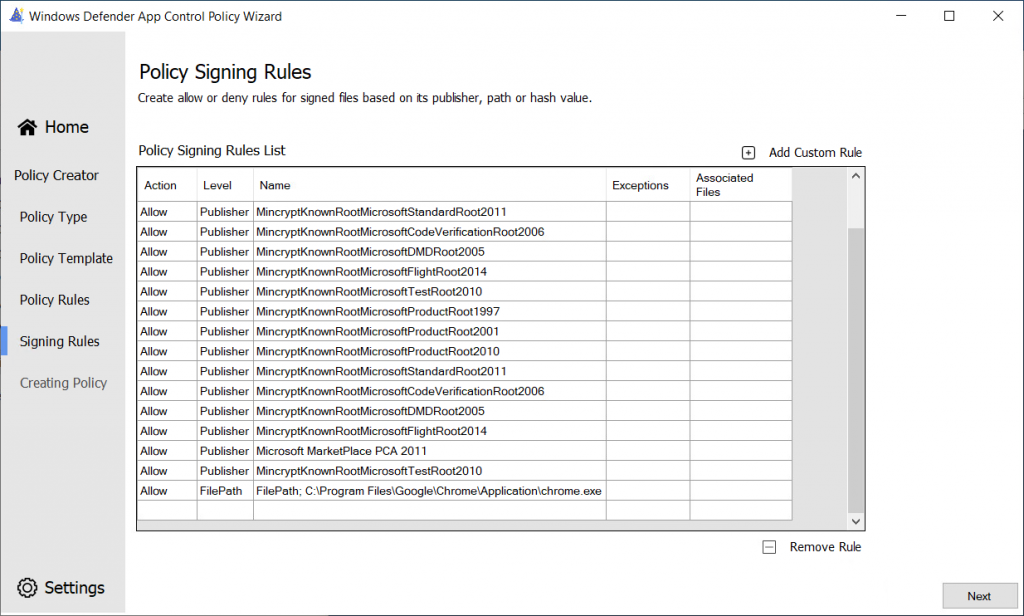
When added, it should be in the list
Do this for every application!
When ready, click Next
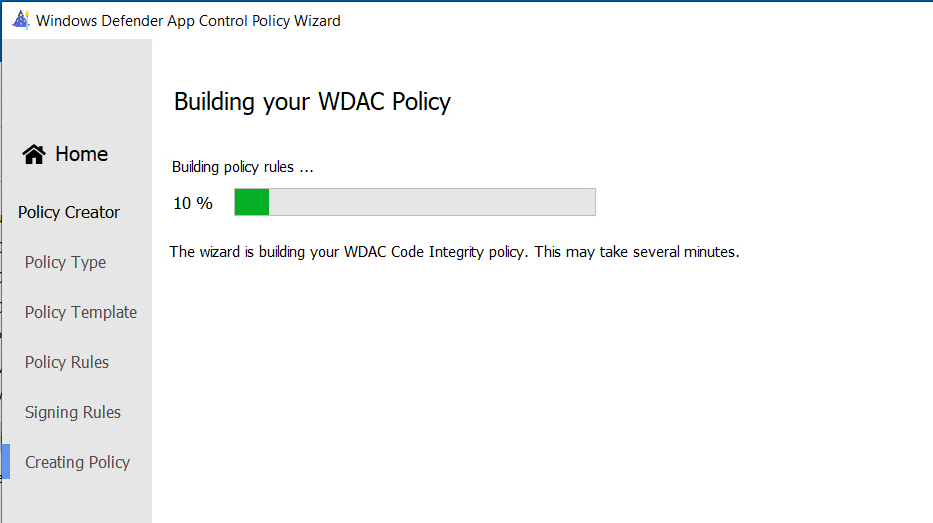
The policy is being created!